
Microsoft 365 Team Inbox Setup: 2026 Guide
Microsoft 365 Team Inbox Setup: 2026 Guide ! IT admin working on Microsoft 365 shared mailbox setup A Microsoft 365 team inbox is defined as a shared mailbox that multiple users access simultaneously to send, receive, and manage email from one common address.

A Microsoft 365 team inbox is defined as a shared mailbox that multiple users access simultaneously to send, receive, and manage email from one common address. The microsoft 365 team inbox setup process uses Microsoft’s shared mailbox feature, which differs from both individual mailboxes and Microsoft 365 Groups. Shared mailboxes require no paid license for storage up to 50 GB. That makes them one of the most cost-effective tools for teams managing high volumes of shared email. Whether you run a support queue, a billing address, or a general info inbox, a properly configured shared mailbox gives every team member equal access without the chaos of forwarding or CC chains.
What are the prerequisites for Microsoft 365 team inbox setup?
Before you create a shared mailbox, you need the right admin access. Only an Exchange Administrator or Global Administrator can create and manage shared mailboxes in Microsoft 365. Without one of those roles, you cannot complete the setup.
Licenses and storage
No license is required when the shared mailbox stays under 50 GB and does not use an online archive. This is the most misunderstood part of shared mailbox planning. Teams often assume they need to purchase a seat for the mailbox itself. They do not, as long as storage stays within the limit.
Each team member who accesses the shared mailbox must hold their own active Microsoft 365 license. The shared mailbox itself is license-free, but the users reading and sending from it are not.
Tools you need
Microsoft 365 Admin Center: The primary interface for creating the mailbox and adding members
Exchange Admin Center (EAC): Required for advanced permissions, specifically Send As
Outlook desktop client or Outlook Web App (OWA): How team members access the mailbox day to day
PowerShell: Optional, but useful for bulk changes and automapping control
Requirement | Details |
|---|---|
Admin role | Exchange Administrator or Global Administrator |
Member licenses | Each user needs an active Microsoft 365 license |
Mailbox license | Not required under 50 GB without archive |
Admin tools | Microsoft 365 Admin Center, Exchange Admin Center |
Client access | Outlook desktop, OWA, or Outlook mobile |
How to create a shared mailbox in Microsoft 365 step by step
The fastest path to a working shared mailbox runs through the Microsoft 365 Admin Center. The entire process takes under ten minutes for a straightforward setup.
Step-by-step creation process
Sign in to the Microsoft 365 Admin Center at admin.microsoft.com with your admin credentials.
Navigate to Teams & groups, then select Shared mailboxes from the left menu.
Click Add a shared mailbox and enter a display name (for example, “Support Team”) and an email address (for example, support@yourcompany.com).
Save the mailbox. Microsoft creates it within a few seconds.
Add members by selecting the new mailbox, clicking Edit under Members, and adding each user by name or email.
Confirm permissions. By default, members receive Full Access and Send on Behalf permissions automatically.
Grant Send As if needed. This requires a separate step in the Exchange Admin Center (covered in the next section).
After you add members, the shared mailbox folder appears automatically in their Outlook client. Synchronization takes roughly 1–24 hours, though closing and reopening Outlook often speeds the process. If a team member needs access immediately, they can add the mailbox manually in OWA without waiting.
Pro Tip: If you need the mailbox to appear faster, have the user close Outlook completely, wait 60 seconds, and reopen it. This forces a fresh sync with the Exchange server.

Using Exchange Admin Center for advanced configuration
The Exchange Admin Center gives you more control than the standard Admin Center. Use it when you need to adjust automapping, set Send As permissions, or manage delegation for specific users rather than the whole team. Navigate to EAC at admin.exchange.microsoft.com, select Recipients, then Mailboxes, and find your shared mailbox there.
What are Microsoft 365 shared mailbox permission types?
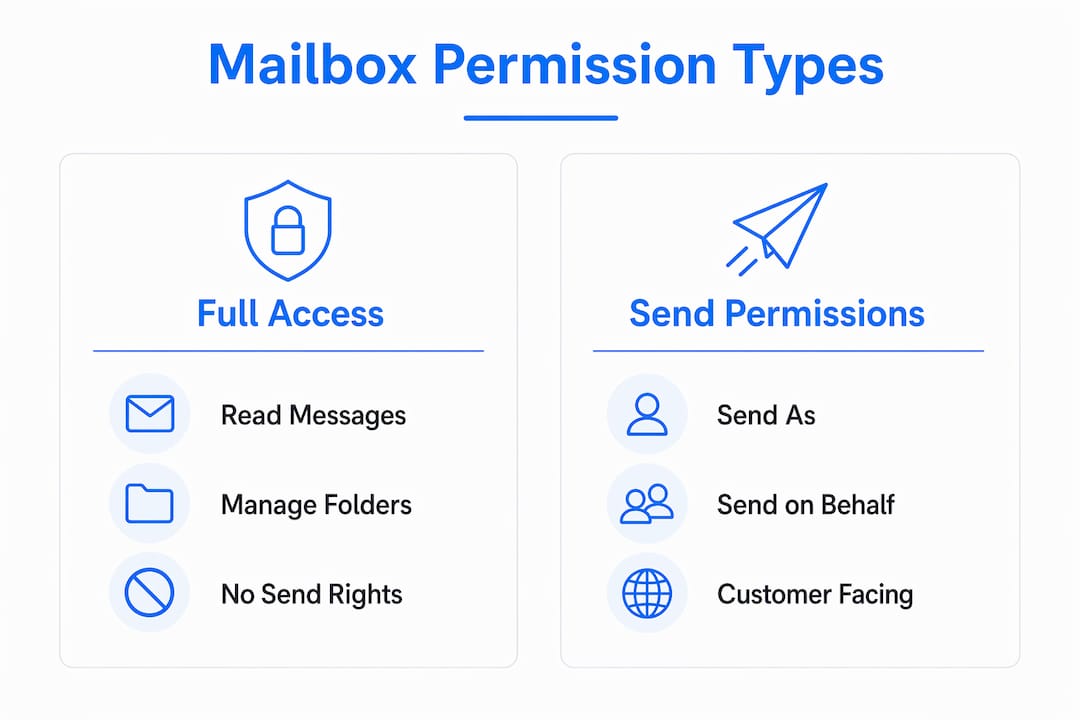
Three permission types control what team members can do with a shared mailbox. Each one works differently and affects how recipients see your outgoing email.
Full Access
Full Access lets a user open the shared mailbox, read all messages, and manage folders. It does not allow the user to send email. This permission is assigned by default when you add a member through the Admin Center.
Send on Behalf
Send on Behalf lets a user send email that shows “Support Team on behalf of yourname@company.com” in the From field. Recipients can see both addresses. This permission is also granted by default when members are added through the Admin Center.
Send As
Send As is the most useful permission for professional teams. Email sent with Send As shows only the shared mailbox address in the From field. Recipients see no indication that an individual sent the message. Send As must be explicitly granted by an administrator in the Exchange Admin Center. It is not assigned by default.
To grant Send As in EAC:
Open Exchange Admin Center and go to Recipients, then Mailboxes.
Select the shared mailbox and click Delegation.
Under Send As, click Edit and add the users who need this permission.
Save and allow up to 60 minutes for the change to take effect.
Pro Tip: For customer-facing inboxes like support@ or billing@, always grant Send As rather than Send on Behalf. It keeps your team’s communication looking professional and avoids confusing recipients with dual sender names.
Common mistakes teams make with permissions include assigning Send As to the wrong users, forgetting to grant it at all, and confusing Send on Behalf with Send As. The Exchange Admin Center is the preferred tool for IT professionals managing detailed permission and delegation settings. Use it for any permission work beyond basic member addition.
How do you access a shared mailbox in Outlook and on mobile?
Team members access the shared mailbox through Outlook desktop, OWA, or Outlook mobile. Each method works slightly differently.
Outlook desktop (automapping)
Automapping is enabled by default and adds the shared mailbox to a user’s Outlook folder list automatically after permissions are granted. No manual action is needed. The mailbox appears under the user’s primary account in the left navigation panel.
Automapping does not work when permissions are assigned via a security group rather than directly to individual users. In that case, users must add the mailbox manually.
Manual addition in Outlook desktop
In Outlook, go to File, then Account Settings, then Account Settings again.
Select your email account and click Change.
Click More Settings, then the Advanced tab.
Under Open these additional mailboxes, click Add and type the shared mailbox address.
Click OK and finish. The mailbox appears after Outlook refreshes.
Outlook Web App (OWA)
In OWA, click your profile icon in the top right, select Open another mailbox, and type the shared mailbox address. OWA opens the mailbox in a separate browser tab. This method works regardless of how permissions were assigned, making it the most reliable fallback.
Outlook mobile
Outlook mobile has limited support for shared mailboxes. Users can add the shared mailbox as a separate account using the shared mailbox email address and their own credentials. Full functionality, including folder browsing, is available, but some features like calendar access may behave differently than on desktop.
Shared mailboxes do not support direct login with a password; use the user’s own credentials.
Automapping does not apply to mobile; manual addition is always required.
For remote team collaboration, OWA is often the most consistent cross-device experience.
Troubleshooting common issues in team inbox management
Most problems with shared mailboxes fall into a small set of repeatable categories. Knowing the cause cuts resolution time significantly.
Mailbox not appearing in Outlook. This is almost always an automapping or sync delay issue. Automapping can be disabled via PowerShell when security groups handle permissions, which forces users to add the mailbox manually. If the mailbox still does not appear after 24 hours, verify that permissions were assigned directly to the user, not through a group.
Storage limit warnings. A shared mailbox that exceeds 50 GB requires a Microsoft 365 license assigned to it. Assign an Exchange Online Plan 1 or Plan 2 license to the mailbox to raise the limit. Regularly archive old email to stay under the threshold and avoid unexpected licensing costs.
Emails falling through the cracks. This is a workflow problem, not a technical one. Managing shared inbox workflows with explicit email state labels such as New, Assigned, and Waiting improves accountability and prevents messages from being ignored. Teams that treat a shared mailbox like a personal inbox without any assignment system consistently miss emails. For practical frameworks, scalable inbox workflows show how labeling and assignment rules work in practice.
Shared mailbox success depends more on managing email workflow states than on the technical setup itself. A perfectly configured mailbox with no workflow discipline produces the same result as a poorly configured one: missed emails and frustrated customers.
Pro Tip: Assign a mailbox owner each week who is responsible for triaging new messages. Rotate the role across team members to distribute the workload and maintain accountability.
Key Takeaways
A properly configured Microsoft 365 shared mailbox requires correct admin roles, direct user permissions, and a clear workflow system to function well for the whole team.
Point | Details |
|---|---|
No license needed under 50 GB | Shared mailboxes are free to create and use within the storage limit. |
Send As requires manual setup | Grant Send As in Exchange Admin Center; it is not assigned by default. |
Automapping has limits | Security group permissions disable automapping; users must add the mailbox manually. |
Workflow labels prevent missed emails | Use state labels like New, Assigned, and Waiting to keep the team accountable. |
EAC gives the most control | Use Exchange Admin Center for advanced delegation, Send As, and automapping settings. |
What I’ve learned from setting up shared mailboxes the hard way
The technical setup for a Microsoft 365 shared mailbox is genuinely straightforward. The problems I see teams run into almost never come from the configuration itself. They come from two things: permission confusion and zero workflow discipline.
The automapping behavior trips people up more than anything else. When an IT admin assigns permissions through a security group for convenience, automapping silently stops working. Users open Outlook, see no shared mailbox, and assume something is broken. Nothing is broken. The system is working exactly as designed. The fix is either to assign permissions directly to each user or to walk everyone through the manual addition process in Outlook. Neither is hard, but nobody documents it clearly enough upfront.
The bigger issue is workflow. I’ve watched teams set up a technically perfect shared mailbox and then watch it become a black hole within two weeks. No one knows who owns which email. Replies go out twice. Urgent messages sit unread because everyone assumed someone else handled it. Labeling email states, as simple as flagging something “Assigned to Maria” or marking it “Waiting on customer,” changes the entire dynamic. For teams that want to go further, assigning emails to teammates with a structured system makes a measurable difference in response time.
My recommendation: spend 20% of your setup time on the technical configuration and 80% on agreeing how your team will use the mailbox. The permissions will work. The workflow is what determines whether the inbox actually helps your team or just adds another place to lose emails.
— Nick
Sendsync makes shared inbox management easier
Microsoft 365 shared mailboxes give your team a solid foundation. Sendsync builds on that foundation by adding the workflow layer that Microsoft’s native tools leave out.
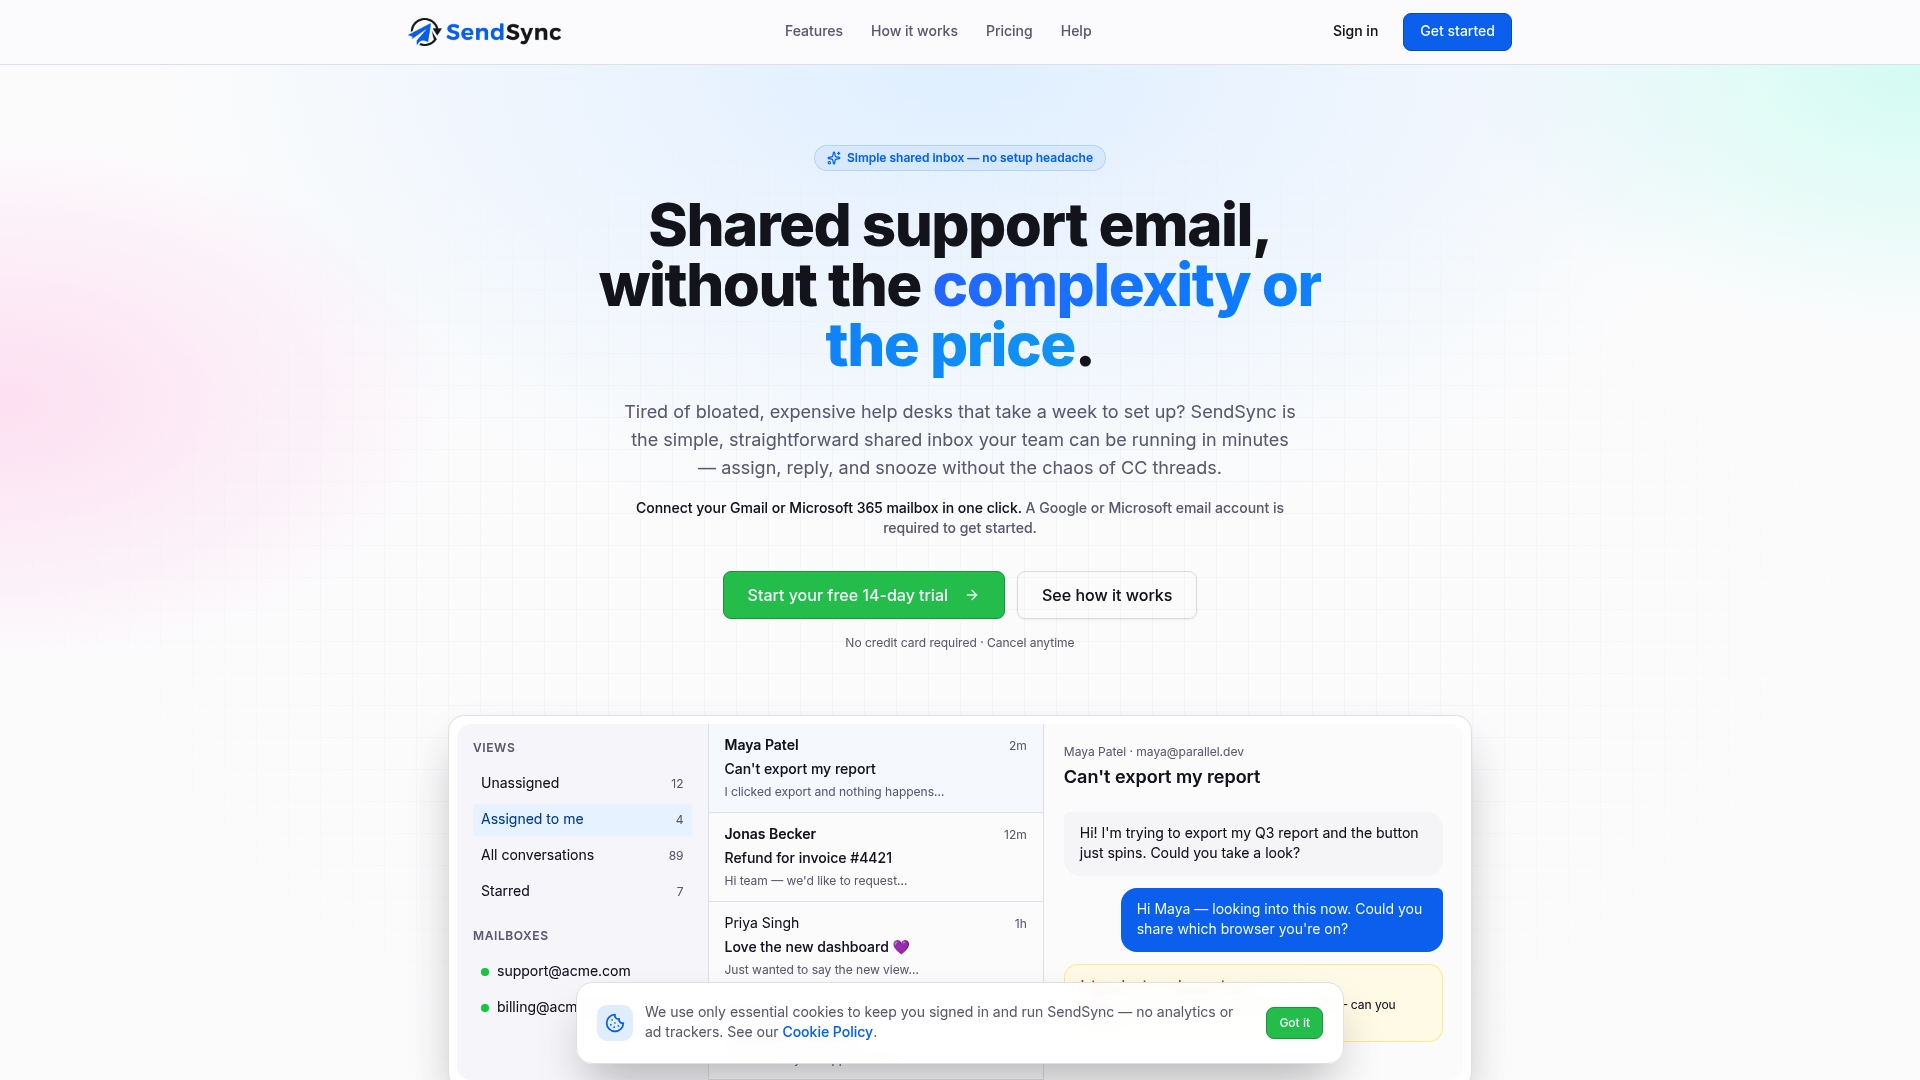
With Sendsync, your team connects a Microsoft 365 mailbox in minutes and gets immediate access to conversation assignment, reply tracking, and inbox state management. There are no per-seat fees, which means your whole team works from one plan without watching the user count. If your team handles customer support, billing inquiries, or any shared communication volume, Sendsync turns a basic shared mailbox into a structured support inbox with clear ownership and faster response times. The setup takes minutes, not days.
FAQ
What is a Microsoft 365 shared mailbox?
A Microsoft 365 shared mailbox is a mailbox that multiple users can access simultaneously to send and receive email from a single shared address, without requiring a separate paid license under 50 GB.
How long does it take for a shared mailbox to appear in Outlook?
The shared mailbox typically appears in Outlook within 1–24 hours after permissions are granted. Closing and reopening Outlook can speed up the sync.
Do I need a license for a Microsoft 365 shared mailbox?
No license is required as long as the mailbox stays under 50 GB and does not use an online archive. A license is only needed when the storage limit is exceeded.
What is the difference between Send As and Send on Behalf?
Send As shows only the shared mailbox address to recipients. Send on Behalf shows both the sender’s name and the shared mailbox address. Send As requires explicit admin configuration in the Exchange Admin Center.
Why is my shared mailbox not showing up in Outlook?
The most common cause is that permissions were assigned through a security group, which disables automapping. Add the mailbox manually in Outlook or reassign permissions directly to individual users.